Floral Book Nook
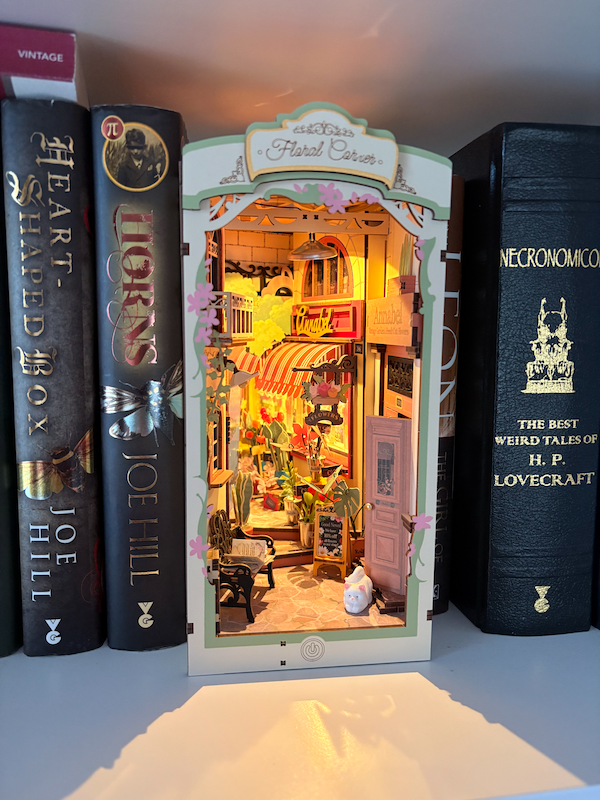
I realised recently that my pages on this site that detailed craft projects had gone missing. They were outside the main post structure and didn’t make it across to the current version of the site. I’m not sure they were in the last version either tbh. I guess that’s more impetus for getting the hard drives out of my old computers and work out what I actually have. Anyway I wanted to get back to keeping records of the stuff I’ve made.
This was a Rolife Floral Corner DIY Book Nook - I was given it for my birthday in April. Darren actually meant to buy me one of the bookshop ones but picked up the wrong thing. He gave me the option of returning it but I decided to try building this one and see if I enjoyed it.
The kit is composed of about ten sheets of wood in various thicknesses with various pieces cut so that you can just pop them out. They are all printed with patterns and labelled with reference numbers.
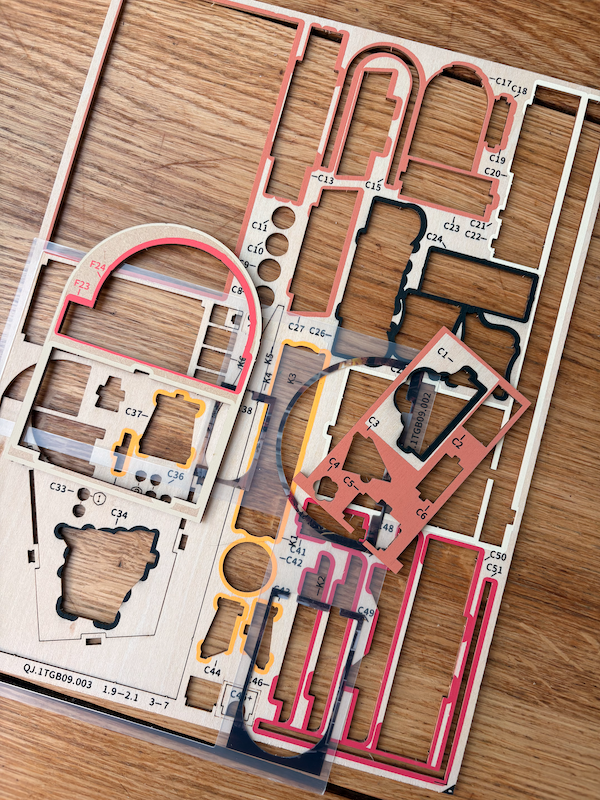
The instructions are pretty clear about which pieces to pop and how to put them together. It’s fiddly but not complicated; I did go slightly wrong in a couple of places but I think the problems were with my brain/hand interface and not the instruction book.
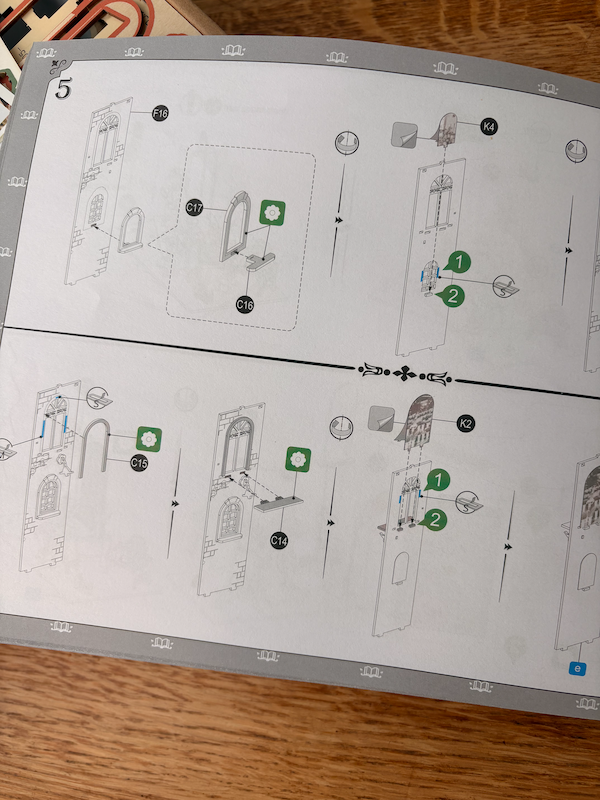
There’s no glue in the kit so it’s not at all messy. Most of the kit is just slotting one piece of wood into a hole (or holes) in another one. And where that’s not feasible there are instead there are tiny strips of double sided tape that are awkward to handle the first time but I quickly got the hang of it and found my tweezers to help handle to tiny but tacky strips.
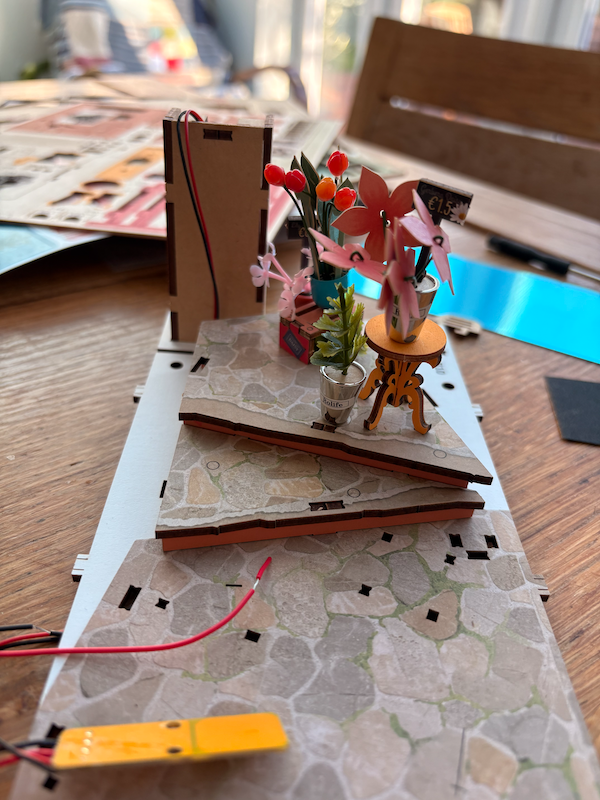
After my first session with the kit I’d put together the steps, some flowers and the battery compartment.
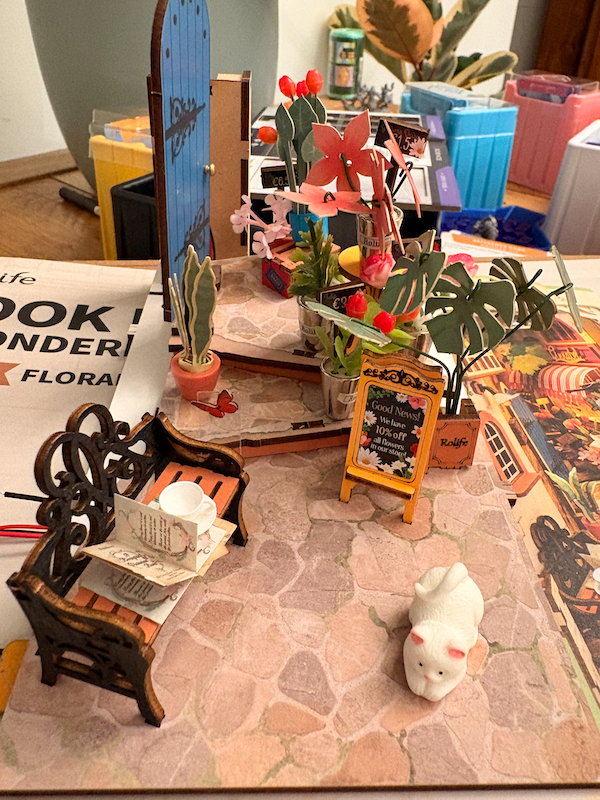
And after another session I’d added lots of details to the courtyard. Putting the miniature handle on that door was the trickiest bit of the kit. I lost one when it flew across the room and couldn’t find it again so one of the later doors in the kit is missing its handle. I initially thought the plant leaves were paper but they are very thin wood. There are some plastic elements like the teacup, the tulips and the cat.
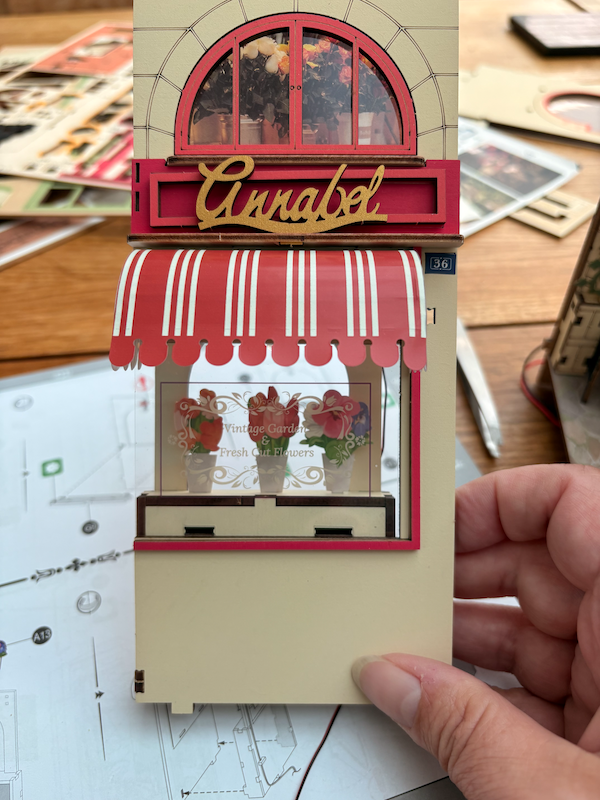
At that point I tidied the kit away and didn’t get back to it for several months. This was the second side of book nook going together. Underneath the red and white sticker the curved awning is a piece of thin wood scored so that you can bend it into a curve. I was really very impressed with the things the kit maker’s have made wood do!
And finally this is the book nook all lit up on my bookshelf. It takes a couple of AAA batteries and is switched on and off just by touching the wood where there is an “on button” symbol burnt into the front of the wood. Touching the wood rather than a plastic button is a nice tactile experience. There’s a clear plastic dust sheet to slide into the front though I removed it to take the photos without reflections.
I’m really pleased with how it looks on the shelf even with the lights off. Overall it took me four sessions to build it, probably about 90 minutes each, so it’s not more than a few hours work and it was a enjoyable process. I made a couple of mistakes - there was a flower that wouldn’t stay in its pot and that door handle that is missing - but they don’t detract from the finished item.
I’ll be putting another one of these on my Christmas list for sure.